If you are viewing this on a phone or tablet, please scroll to the left to see all the content. | New weekend Project Replace Front Wheel Bearings and Install New Dust Shields on my 1967 Corvette. Disclaimer, this article is not meant to be instructional. This is only meant to demonstrate the way I performed the work. Before you attempt to do any of this consult a repair manual or a qualified mechanic. Not Responsible for any damage or injury that might occur as a result of anyone performing this work. | |||||
This is a fairly straight forward project. My first step was to put the car up on jack stands and remove the front wheels. I than removed the brake caliper by removing the two 5/8 bolts that secure it. Important, don’t let the caliper hang by the brake line. Photos Replacing Bearings | ||||||
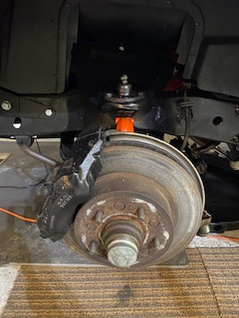 | 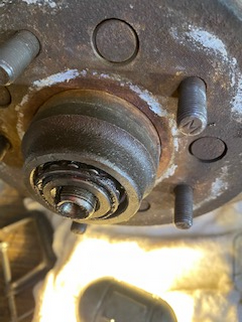 | 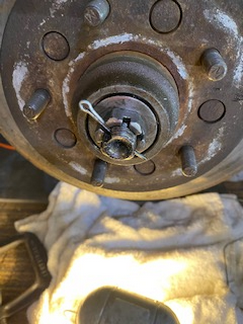 | ||||
Replacing the Outer and Inner Front Wheel Bearings Next, I removed the dust cup from the hub. This exposed the castellated nut and cotter pin that holds the hub to the spindle. After removing the carter pin and nut I slide the hub halfway forward and back to expose the front bearing. I removed the bearing and slide the hub off the spindle. I placed the hub down on a flat surface and from the front using a drift punch I taped out the rear bearing seal. Using the punch with the rotor rear sde down find the edge of the rear bearing race and tap it out from the front, turn the rotor over and tap out the front race from the rear. Using a bearing race tool or a socket that makes contact with the edge of the race and carefully hammer in the new races to seat them. I packed the new front and rear bearings with the appropriate grease. I greased in the rear bearing opening and inserted the bearing and carefully I taped in the new seal. I smeared grease on the spindle before sliding on the hub. After the hub is back on the spindle, I greased the bearing opening and slide the bearing in place and Installed the washer, and nut. Important I seated the bearing by tightening the castellated nut to factory specs and checking for correct play in the hub. Inserted new cotter pin and tap on the dust cup. Replacing the Dust Shields Photos | ||||||
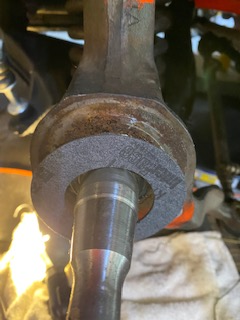 | 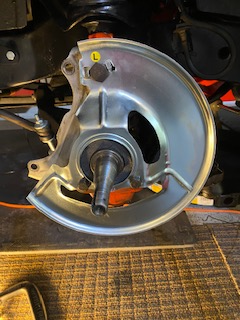 | 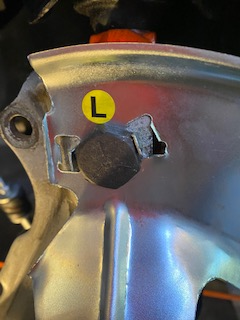 | ||||
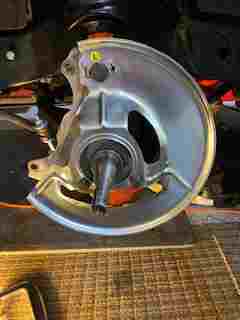
Dust Shields I removed the bolts that hold the steering arm to the spindle and the top bolt that also passes through the dust shield. I then removed the old dust shield. I installed the new shield and replaced gasket on the spindle. Folded the tabs on the dust shield against the top bolt and torqued all bolts to specs. | ||||||
